Final Trial: Flappy Hoppy
Over the past four lessons, you evolved from an absolute programming "muggle" to mastering the foundational skills of Vibe Coding: choosing your weapon, casting environment barriers, the creation cycle, and agile iteration.
Now, it's time to test your mettle. There are no copy-and-paste "answer sheets" in this lesson. I will only give you a Director's Roadmap and seven phase goals. Exactly how you issue commands to the Agent and describe what you want—you must organize the language entirely on your own.
Your only win condition is this: Make this tribute to the classic "Flappy Bird"—Flappy Hoppy 🐸—run, and be able to play it yourself.
As for what the code looks like? It doesn't matter. You are the Director, not the screenwriter.
The Director's Roadmap
Please open a brand new, empty folder. Use the method you learned in Lesson 02 to have the Agent build your .venv barrier and install pygame. Then, follow these seven phases and issue commands to the Agent step by step.
Small steps, fast runs. Add only one feature at a time, run it to ensure it works, then add the next.
Phase 1: Setting the Stage (Basic Canvas)
Goal: Have the Agent create a PyGame window. Draw a solid-colored sky background (like light blue). Place a yellow square or circle representing "Hoppy" slightly left of center. When the game launches, do not start immediately; instead, display "Press SPACE to Start" in the center of the screen. Wait for the player to press the spacebar before Hoppy begins falling under the influence of gravity.
Suggested SolutionExpandCollapse
Agent, please help me create a new game.py. Use pygame to build a game window with a light blue background.
Place a small yellow square as the protagonist "Hoppy" slightly left of center.
Note: Don't let Hoppy drop immediately when the game starts! Please show the text "Press SPACE to Start" in the center of the screen first. The game should officially start and Hoppy should start falling due to gravity only after the player presses the spacebar.
Phase 2: Granting Control (Jump with Spacebar)
Goal: When the player presses the spacebar, Hoppy jumps up a short distance. After letting go, it continues to fall due to gravity. Make the movement feel natural and fluid.
Suggested SolutionExpandCollapse
Now please give Hoppy jumping controls: every time I press the spacebar, it jumps upward a bit.
It should continue to fall afterwards. Please make the jump feel smooth and natural.
Phase 3: Creating Crisis (Pipe Obstacles)
Goal: Continuously generate pairs of green "pipe" pillars (top and bottom) from the right side of the screen, leaving a gap in the middle to pass through. All pipes should continuously move to the left, simulating Hoppy flying forward.
Suggested SolutionExpandCollapse
Next, please add an obstacle system: continuously generate pairs of green pipes (one top, one bottom) from the right side of the screen, leaving a gap big enough for Hoppy to pass through.
All pipes should move left continuously and disappear when they move off-screen. Generate a new pair periodically, and randomise the height of the gap.
Phase 4: Life or Death (Collisions and Game Over)
Goal: If Hoppy hits any pipe, or touches the top/bottom edge of the screen, the game ends immediately, and "GAME OVER" is displayed in the center.
Suggested SolutionExpandCollapse
Please add collision detection: if Hoppy touches any pipe or flies out of the top or bottom boundaries of the screen, the game ends immediately.
Freeze the frame, and display a giant white "GAME OVER" text right in the middle.
Phase 5: Medal of Honor (Scoring System)
Goal: Every time Hoppy safely passes through the gap of a pair of pipes, the score at the top responds by adding 1. Display this score in real-time.
Suggested SolutionExpandCollapse
Finally, add a scoring system: every time Hoppy successfully passes through the gap of a pair of pillars, add 1 to the score.
Display the score with large white numbers in real-time at the top center of the screen.
Phase 6: Summoning the Artist (AI Asset Generation)
Goal: The yellow blocks and green pillars are too ugly for your graduation piece. Now, have the Agent use Python's image generation library (e.g., Pillow) to summon pixel-style game assets locally out of thin air:
hoppy.pngpipe.pngbackground.pngOnce generated, have the Agent automatically replace the solid-color shapes in the game code with these beautiful image sprites. Remember how the AI synthesized a sound effect out of nowhere in Lesson 04? This time, not only can it write code, but it's also moonlighting as a game artist!
Suggested SolutionExpandCollapse
The game visuals are too basic right now. Please help me automatically generate three pixel-art style game assets locally using the Pillow library:
1. `hoppy.png`: a cute pixel-art frog, facing right, with big eyes, about 40x40 pixels.
2. `pipe.png`: a pixel-style green pipe sprite, about 80x500 pixels.
3. `background.png`: a pixel sky background, light blue gradient, with a few white pixel clouds and distant green hills, matching the size of the game window.
After generating the images, please modify game.py to replace the solid-color boxes and pillars with these image assets.
Phase 7: Premium Delivery (Final Polish)
Goal: The difference of a great product lies in the final 5% of polish. Ask the Agent to add a few minor but high-impact details to your game:
Suggested SolutionExpandCollapse
The game is almost done, please help me with a final round of polish:
1. Make Hoppy tilt its angle slightly upward when jumping, and downward when falling, to add liveliness.
2. In the instant of Game Over, flash the screen red quickly before freezing it, to add impact.
🎮 Did you beat it?
If your screen shows a pixel frog tumbling up and down between green pipes, with a cloudy blue sky in the background and a ticking score at the top left—
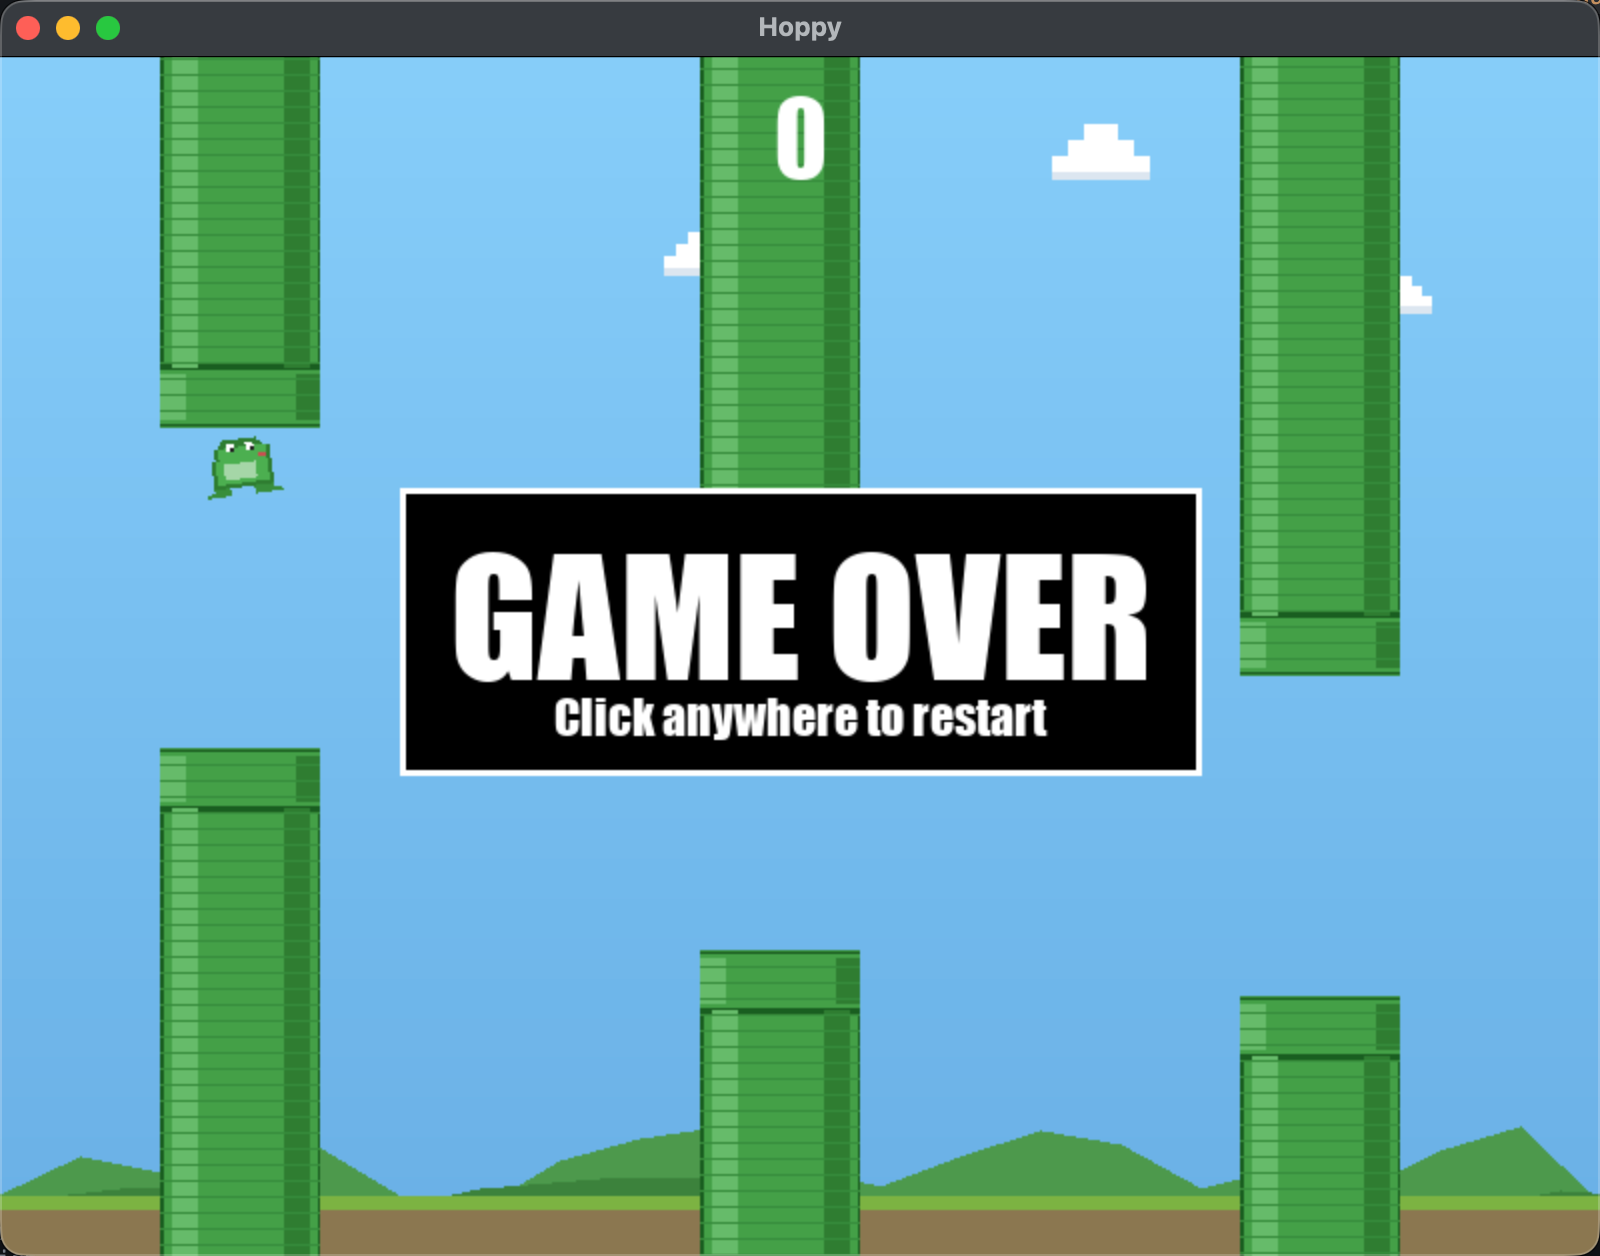
Congratulations, you have completed the "First Resonance" Trial!
🎁 Bonus Easter Egg: Show off your game to friends!
Wait, don't close your computer just yet! Did you know you can bundle the game you just created into a standalone runnable executable and send it to your friends so they can double-click and play it on their own computers? Yes, they don't even need to install Python or know any tech—they just double-click to play.
Come on, give the Agent one final command:
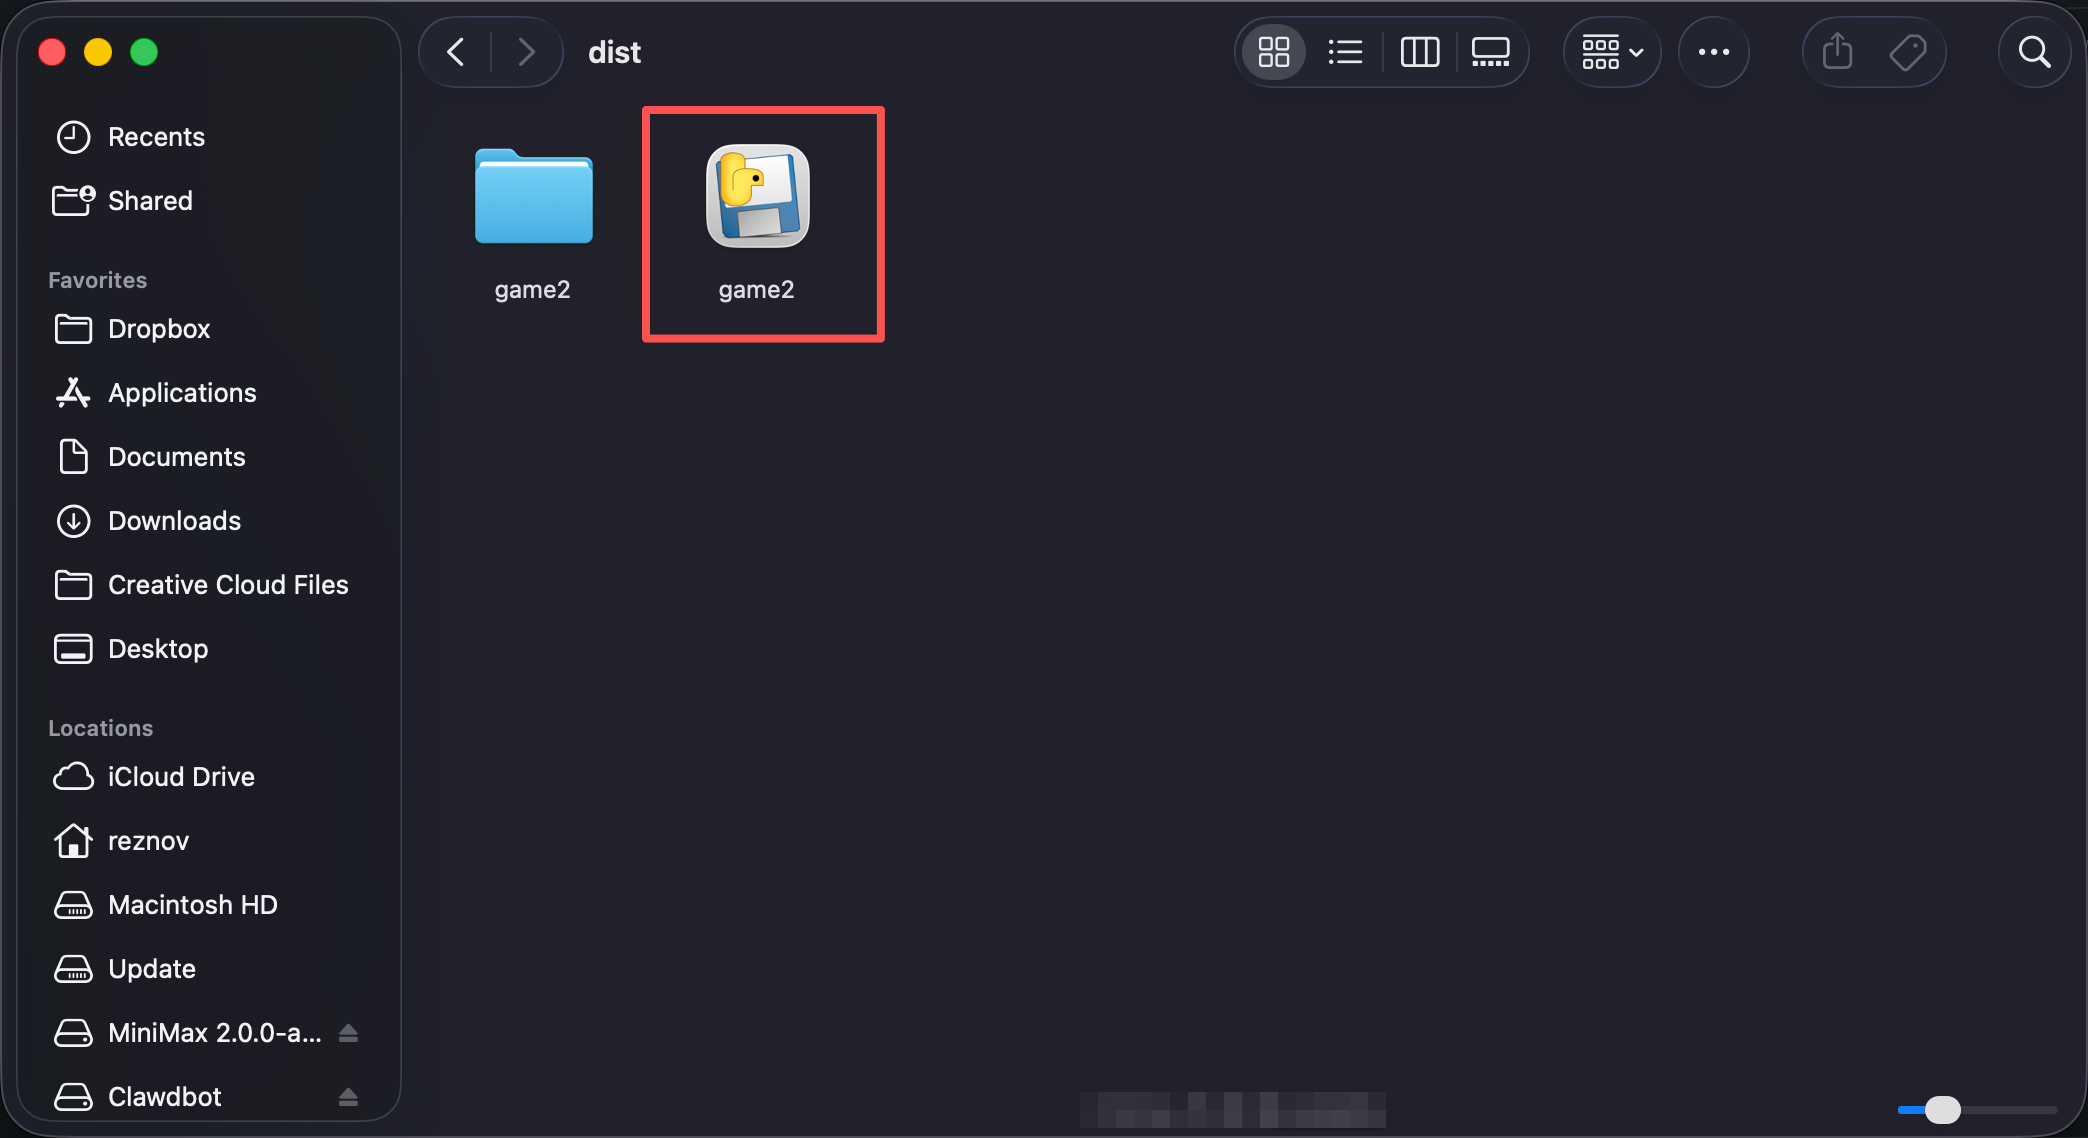
My Flappy Hoppy game is finished!
Please help me package it into a standalone executable program so I can send it to my friends to run directly.
They do not have Python installed on their computers, so all dependencies need to be packed in.
Please use PyInstaller and ensure that all images and sound assets used in the game are correctly included.
A few minutes later, you will find a standalone program file in the dist directory of your project folder. Zip it and send it to your friends, letting them see—this is a game you made from scratch without writing a single line of code.
The packaged program can only run on the same operating system as yours (Mac packages a .app, Windows packages an .exe). If your friend uses a Mac, they may need to right-click and select "Open" the first time to bypass system security prompts.
Series 1 Skill Tree Unlocked ✅
You have proven you can use pure natural language to direct AI and create two complete interactive games from zero. But to be honest, right now, you are just a "Muggle who knows a few spells."
You know how to make AI run, but you don't know why it sometimes suddenly acts "dumb", nor do you know how to use Agent Skills to give it long-term memory and an enterprise-scale subconscious, and you certainly don't know how to use Git to leave "save points" for yourself when a project becomes massively complex.
In Series 2 "The Core Mechanics", we will lift the hood of the AI, transforming you from someone who just "uses magic" to a true Grand Magus who "understands magic."
See you in Series 2.
By clicking this, you confirm you have completed the Vibe Coding mission in your local IDE.